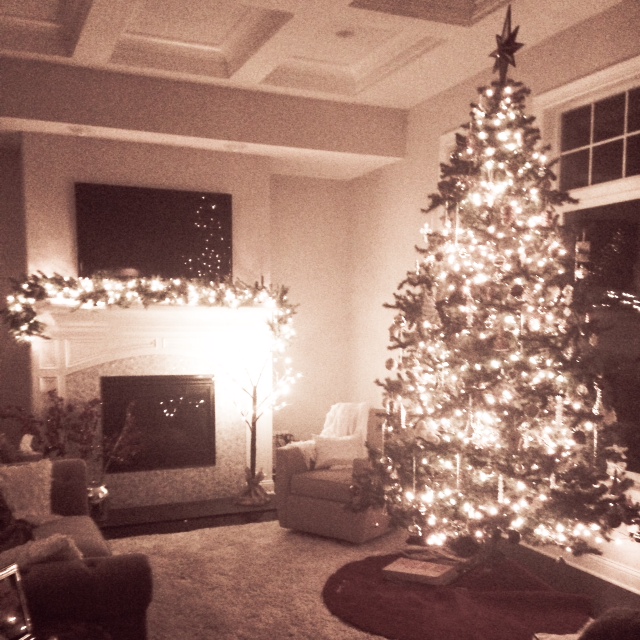
From eclectic to sophisticated, dressing your Christmas tree is just another way to express your design style at home. And I’m guessing through the years, this style has changed just a bit in that little place you call your own. Because this is the seventh year I’ve had the luxury of “decking my own halls” I’d like to share a few things with you I’ve learned along the way. But first let me share a picture with you, my very own vision come true.
In my world, it all starts with a vision. What’s great about this amazingly simple design idea is that the journey is just as great as the destination. Simply follow these steps below and you’ll see.
1. Have a Vision & Seize a Shopportunity. I always knew I wanted a BIG tree…. Until I discovered the price tag. Do you know how much a 10 foot tree is?? Let’s just say it’s a few benjamins over what I was about to pay. So, when my husband and I discovered Gerdt Furniture Store was going out of business, I thought this is the moment where your vision meets opportunity. Gerdt celebrates Christmas right? And, they no longer would need a 10 foot Christmas tree… So that’s when we bought theirs for $25. You got that right. Talk about a deal of a century. Rule number one, think outside the box.
2. Let Your Bargains Multiply. I’ve always loved champagne taste with my beer budget. This is why I knew to create this vision it would take a little time and patience on my part. This may sound crazy but I’m the first one to open the doors at Target on December 26th. You get the best selection at the best price. I shop for everything from coordinating ornaments in bulk, to wrapping paper that compliments one another, gift tags, tree lights and even generic gift bags that I can use for those random gifts I like to surprise my special friends with year round. They literally have everything I need for next year at the best price. You may call it crazy… But when I tell you I designed this Christmas tree for under $250, tree included, you’ll be lining up next year right along with me. 😉
3. Mix the Biggins with the Littles. What exactly does this mean? My philosophy has always been layering pieces to create a beautiful look. One trick I like to do is to mix one long strand of big lights with four to five strands of small ones. First put your small lights on the tree as you normally would and then start from the top to the bottom and wrap the tree in larger lights. But, wrap them tightly. As in, keep them as close to the trunk as possible to draw interest and depth to your tree. That way your don’t have any big bulky bulbs hanging on the end of your limbs that look messy. When you do this, your tree will naturally glow from the inside out.
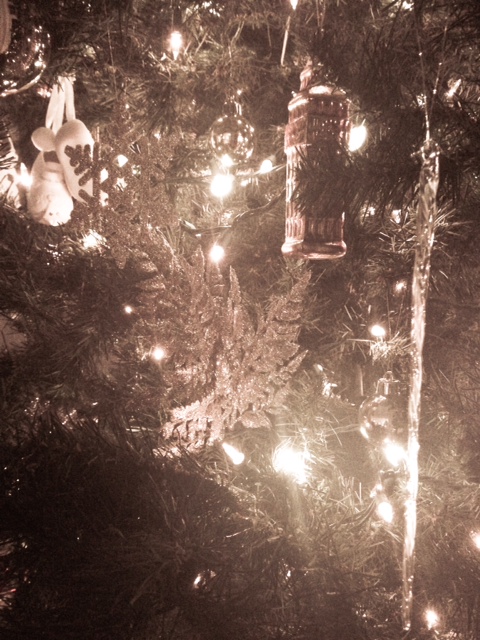
4. Layer the Silver & Gold. I love the ornaments that are covered in silver and gold glitter that look like leaves and branches. Do you know what I’m talking about? If you do, good. If not, see below. When you find them on sale grab at least 30. You’re going to use these to stick in your tree branches upright. And when you place them into your tree, try to place them next to a big bulb so that it reflects the beautiful light in a multitude of directions. This will essentially create the depth you are after and the beautiful layering effect you see so often in department stores. It’s the link between the lights and the ornaments that pulls it all together.
5. Find Your Style. This is where it gets fun. Find a theme and go with it. Because I love a look that’s timeless I know glass, silver and gold will never go out of style. That’s just me. You can totally go with a playful theme and do teal bulbs with feathers, crimson red and gold ribbon, or burlap and paisley prints… Find whatever reflects your style and run with it. Because our tree is so tall, I went with ornaments that draw your sight line vertically. So, on our tree you’ll see a lot of glass icecycles, tall faux copper structures, long spiral globes and slender acorns. This draws your visual interest vertically which then flows throughout the tree. There’s just one rule here… Whatever you do, be creative and have fun!


May these little ideas spark your interest and get you inspired to create the tree you’ve always envisioned in your little place you call HOME.
God Bless,
Melissa
